TL;DR:
- Waterproofing failures mainly result from workmanship shortcuts in surface prep, membrane thickness, detailing, curing, and testing. Addressing these predictable issues with proper quality assurance, verification, and coordination significantly reduces callbacks and project risks. Engaging specialists in complex cases further ensures system integrity and long-term performance.
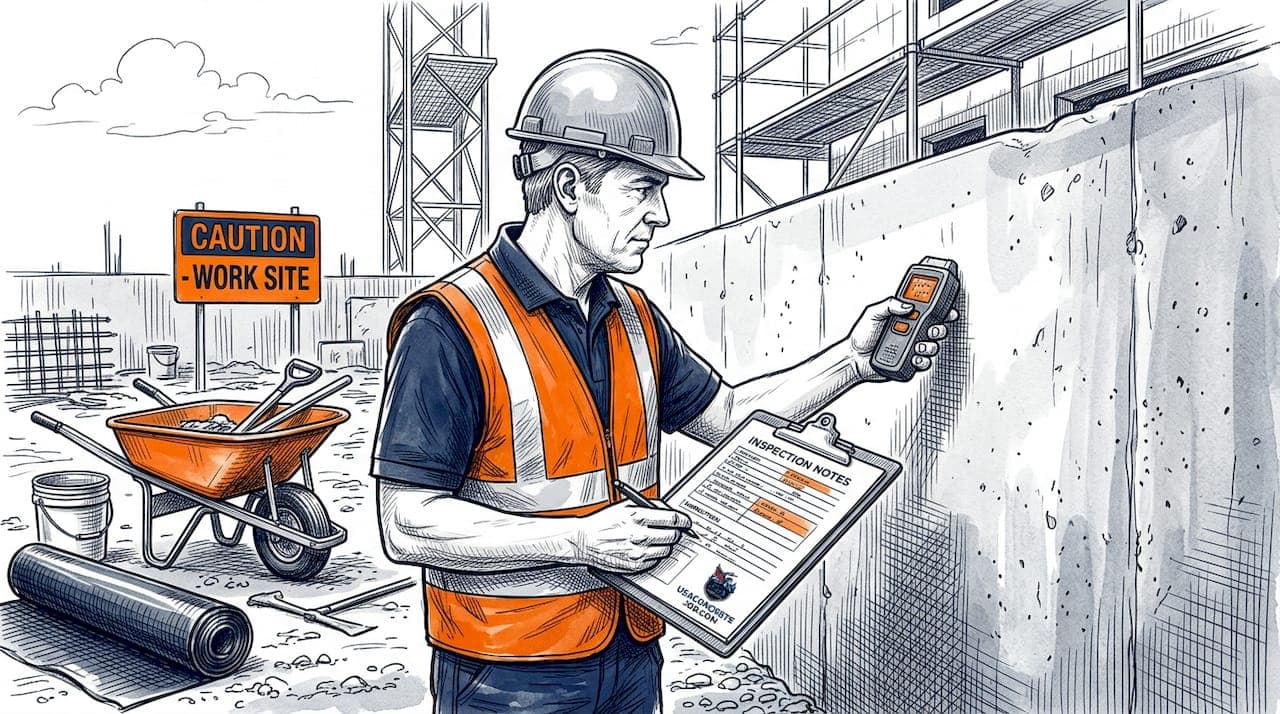
Waterproofing failure is defined as the breakdown of a membrane or system that allows water to penetrate a structure, and the most common waterproofing mistakes contractors make are surface preparation shortcuts, insufficient membrane thickness, poor detailing at critical junctions, rushed curing, and skipped pre-handover testing. These errors are not random. Most leaks stem from workmanship shortcuts rather than product failures, which means fixing your workflow delivers better outcomes than switching products. Standards like BS 8102:2022 and IRC 2024 exist precisely because these contractor waterproofing issues are predictable and preventable. This article breaks down each mistake with specific causes, real-world consequences, and practical fixes you can apply on your next project.
1. Common waterproofing mistakes contractors make in surface preparation
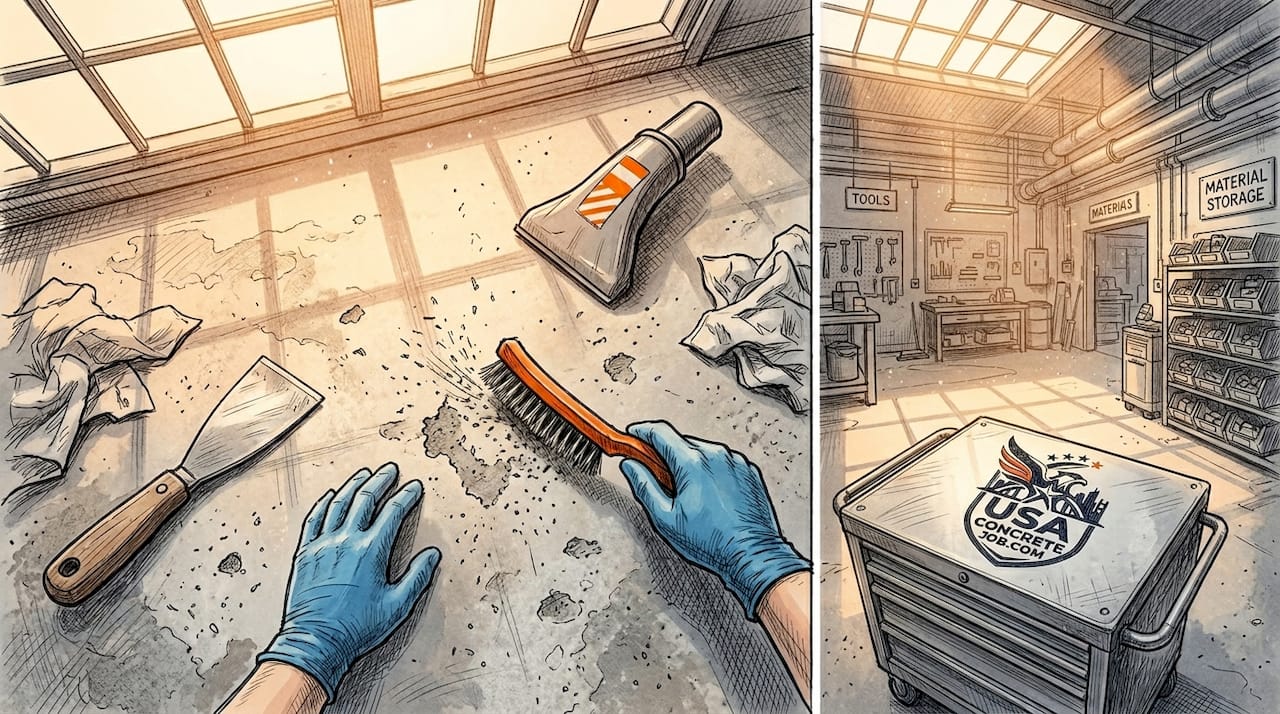
Surface preparation is the single most critical step in any waterproofing system, and it is also the step most frequently rushed. Contamination, damp substrates, and residual dust are the leading causes of adhesion failure, yet they are invisible once the membrane is applied and the surface is reinstated. That invisibility is exactly why poor surface preparation causes so many callbacks.
The most common surface prep errors include:
- Leaving laitance, curing compounds, or form-release agents on concrete before membrane application
- Applying membranes to substrates with moisture content above the product manufacturer's specified limit
- Failing to fill voids, honeycombing, or sharp corners before membrane installation
- Skipping mechanical abrasion or grinding on smooth concrete surfaces
Surface defects like residual curing compounds and concrete voids create leak pathways that membranes alone cannot reliably bridge. A membrane applied over a void will span it temporarily, but hydrostatic pressure or thermal movement will eventually cause it to fail at that exact point.
Pro Tip: Establish a written quality assurance checkpoint before any membrane is applied. The checklist should confirm substrate dryness, cleanliness, and void repair. Sign it off with a date and photo documentation. This protects you contractually and forces the discipline that prevents callbacks.
2. Applying membranes at insufficient thickness
Membrane thickness is not a suggestion. Every waterproofing product is engineered to perform at a specific dry film thickness, and applying it thinner to save material or time directly undermines crack-bridging capacity and flexibility. Shortcuts reducing membrane thickness reduce lifespan and performance, particularly in hot and humid climates like Texas, Florida, and Arizona.
The consequences of under-thickness are predictable:
- Bubbling and peeling within months of installation
- Loss of crack-bridging ability across substrate movement joints
- Premature UV degradation on exposed surfaces
- Voided manufacturer warranties, leaving you liable for repairs
Verification is straightforward. Wet film thickness gauges cost under $30 and take seconds to use. For cured membranes, destructive core sampling or non-destructive ultrasonic thickness gauges confirm final dry film thickness. Neither method is complicated, and both are far cheaper than a rework call.
Pro Tip: Always calculate the total product volume required for the specified dry film thickness before ordering. Factor in substrate porosity, which can absorb 10 to 20 percent of the first coat on porous concrete. Under-ordering is one of the most common reasons applicators thin out the final coat.
3. Neglecting critical detailing at junctions and penetrations
Waterproofing failures overwhelmingly occur at junction details and penetrations, not across broad surface areas. Corners, wall-floor junctions, pipe penetrations, parapet edges, and drainage outlets are where water finds its way through. Contractors who apply membrane correctly across flat surfaces but rush the detailing work will still generate repeat leaks.
The specific errors that cluster at these points include insufficient upturn height at wall-floor junctions, missing reinforcement mesh at corners, and failing to seal pipe penetrations concurrently with the main membrane application. BS 8102:2022 mandates waterproofing continuity 150 mm above ground with detailed interface seals around pipes and movement joints. That 150 mm minimum upturn is frequently ignored on fast-moving sites, creating a direct leak path at the most vulnerable transition point.
Penetration seals must be applied during membrane installation and flood tested before backfill per IRC 2024 guidance. Once backfill covers the membrane, any missed penetration seal becomes an expensive excavation job to fix.
Pro Tip: Treat every penetration, corner, and junction as a separate inspection hold point. Do not allow the main membrane application to proceed past a detail until that detail has been checked and signed off. This slows the crew down by minutes and saves hours of rework.
4. Rushing curing times before tiling or flood testing
Curing is not downtime. It is an active chemical process that determines whether the membrane achieves its rated bond strength and flexibility. Rushing curing processes such as early flood testing or tiling over membranes before full cure significantly reduces bond strength and membrane effectiveness. This error is especially common on renovation projects with tight client-driven schedules.
The practical consequences are severe. Tiles laid over an incompletely cured membrane trap moisture, prevent full adhesion, and create a substrate that moves independently of the tile layer. The result is debonding, cracking grout lines, and eventually water ingress through the tile bed itself. Flood testing a bathroom membrane before it has fully cured can cause the membrane to lift at the edges, creating the exact defect the test was designed to detect.
Scheduling strategies that work in fast-paced projects include:
- Sequencing waterproofing work early in the room-by-room schedule so curing occurs during other trades' work periods
- Monitoring temperature and humidity with a digital hygrometer, since high humidity and low temperatures extend cure times significantly
- Using the manufacturer's minimum cure time as a floor, not a target
Pro Tip: In humid climates like Florida or coastal California, add 20 to 30 percent to the manufacturer's stated cure time during summer months. High ambient humidity slows solvent release in many liquid-applied membranes. A simple moisture meter reading on the membrane surface confirms cure status before you proceed.
5. Failing to coordinate waterproofing with drainage systems
Waterproofing and drainage are not independent systems. Waterproofing must be coordinated with drainage systems to relieve hydrostatic pressure, because even a correctly installed membrane will fail if hydrostatic pressure builds against it without relief. IRC 2024 recommends foundation drainage systems alongside waterproofing to manage this pressure load, particularly for below-grade construction in states like Colorado and Texas where soil saturation events are common.
The mistake contractors make here is treating waterproofing as a standalone scope. A membrane specified without reference to the site's drainage design, soil permeability, or water table depth is a membrane that may be undersized for the actual water load it will face. Drainage outlets integrated into the membrane system must also be detailed correctly. A drain outlet with a poorly sealed flange is a direct leak path regardless of how well the surrounding membrane is applied.
Coordinate with the civil or structural engineer on drainage design before finalizing your waterproofing specification. On residential projects, confirm that site grading directs surface water away from the foundation before the membrane is even selected.
6. Skipping pre-handover water testing
Skipping water testing before handover leads to hidden defects and unavoidable costly rework, because defects concealed under tiles or finishes are far more expensive to repair than defects caught before installation. Flood testing bathrooms and wet areas, and controlled hose testing on external walls, are standard contractor responsibilities that are routinely skipped under schedule pressure.
The logic for skipping is always the same: the crew is confident in their work, the schedule is tight, and testing feels redundant. The problem is that confidence does not catch pinhole defects, missed laps, or thin spots. Only water under controlled conditions does that.
Including waterproofing water testing as a contractual milestone and communicating testing expectations clearly to clients prevents dissatisfaction and avoids callbacks. When testing is written into the contract with defined pass criteria, it becomes a project milestone rather than an optional extra.
Pro Tip: Document every flood test with a time-stamped photo showing the water level at the start and end of the test period. Send the results to the client in writing before tiling begins. This creates a clear record that the membrane was tested and passed, which protects you if a leak is reported months later.
7. Ignoring professional design responsibility
Failure to formally appoint a waterproofing specialist can lead to design gaps and major liability issues for contractors and architects. On complex projects, particularly commercial basements and below-grade structures, waterproofing design is a specialist discipline. Contractors who select membrane systems without reference to a formal waterproofing design are taking on liability they may not recognize until a failure occurs.
Specialist waterproofing designers reduce risk by integrating system selection, detailing, and monitoring, backed by professional indemnity insurance that transfers liability appropriately. On residential projects, this may mean consulting the membrane manufacturer's technical representative before specifying a system for an unusual substrate or exposure condition. On commercial projects, it means engaging a qualified waterproofing consultant at the design stage, not after the slab is poured.
The cost of a specialist consultation is a fraction of the cost of a failed waterproofing system on a commercial basement. Contractors who treat waterproofing as a commodity application rather than a designed system will eventually face a project where that assumption proves expensive.
Key takeaways
Waterproofing failures are caused by workmanship shortcuts at predictable points, and fixing surface preparation, detailing, curing, and testing protocols eliminates the majority of contractor callbacks.
| Point | Details |
|---|---|
| Surface prep is non-negotiable | Clean, dry, void-free substrates are required before any membrane application begins. |
| Thickness must be verified | Use wet film gauges on every coat to confirm you are meeting the manufacturer's specified dry film thickness. |
| Details fail first | Corners, penetrations, and junctions need individual inspection hold points, not just a general membrane check. |
| Curing time is structural | Tiling or flood testing before full cure reduces bond strength and creates the defects you are trying to prevent. |
| Testing protects everyone | Contractual flood testing with documented results protects the contractor and gives the client confidence before finishes go on. |
What I've learned from watching the same mistakes repeat
I have reviewed enough failed waterproofing jobs to say this plainly: the errors are almost never about the product. They are about the process. The same five mistakes appear on job after job, in different states, with different crews, using different membrane brands. Surface prep skipped because the substrate looked clean. Membrane thinned out because the crew ran short on the last coat. Corners left without reinforcement because the detail drawing was not on site. Flood test skipped because the tiler was waiting.
What strikes me most is that inspections before backfill are the single cheapest intervention available to any contractor, and they are still routinely skipped. Once a slab is tiled or a wall is backfilled, every repair requires destructive work. The cost multiplies by a factor of five to ten. The client relationship suffers. The warranty claim lands on your desk.
My honest advice is to treat waterproofing as a specialist discipline within your broader concrete and construction scope. Build QA checkpoints into your standard workflow, not as extras you add when the job is complex. Train your crew on the specific products you use, not just general application principles. And if a project involves below-grade waterproofing on a commercial structure, bring in a specialist designer before you specify anything. The liability transfer alone is worth the fee.
Contractors who view waterproofing as a commodity application will keep generating callbacks. Those who treat it as a designed, inspected, and documented system will build a reputation that generates referrals instead.
— Jack
Work with licensed waterproofing contractors through USAConcreteJobs
Avoiding the waterproofing pitfalls covered in this article requires more than knowledge. It requires working with contractors who apply that knowledge consistently on every project.
USAConcreteJobs connects clients and construction professionals with licensed waterproofing contractors across Texas, Florida, California, Arizona, and Colorado. Every contractor in the network is licensed and insured, with verified experience in concrete waterproofing, structural repair, and precision concrete cutting. Whether you are managing a residential wet area or a commercial below-grade structure, USAConcreteJobs provides free estimates and permit assistance to keep your project compliant and on schedule. Contact USAConcreteJobs today to find qualified waterproofing professionals in your state.
FAQ
What are the most common waterproofing mistakes contractors make?
The most common errors are inadequate surface preparation, applying membranes below specified thickness, poor detailing at corners and penetrations, rushing curing times, and skipping pre-handover flood testing. Each of these mistakes is a workmanship issue, not a product issue.
How do you avoid waterproofing failures at pipe penetrations?
Penetration seals must be installed concurrently with the main membrane, not as an afterthought. Per IRC 2024 guidance, penetrations should be flood tested before backfill to confirm integrity while repairs are still accessible.
Why does membrane thickness matter so much?
Membrane thickness determines crack-bridging capacity and flexibility. Applying a membrane below its specified dry film thickness reduces its ability to span substrate movement and shortens its service life, often causing peeling and bubbling within months.
When should flood testing happen on a waterproofing project?
Flood testing should occur after the membrane has fully cured and before any tiles or finishes are applied. Testing after finishes are installed conceals defects and makes repairs far more expensive. Document results with time-stamped photos.
Do contractors need a specialist waterproofing designer?
On complex or below-grade commercial projects, yes. A specialist designer integrates system selection, detailing, and monitoring under professional indemnity insurance, which transfers liability away from the contractor and reduces the risk of design-driven failures. For residential projects, consulting the membrane manufacturer's technical representative before specifying an unusual system is a practical minimum.